The first thing everyone asks when you see one of my pens is "You made that? How?"
In this three part post, I wanted to talk about the process I use to create a pen. Be it a ballpoint Sierra, a Churchill Rollerball, or an El Cap Fountain Pen it is basically the same steps.
- Select the pen blank & kit
- Cut & drill the blank
- Glue the brass center tubes
- Square the blanks
- Shape and sand
- Finish the pen tubes
- Assemble the pen
In this first post, lets talk about items one through three.
Select the Pen Blank & Kit
To begin each pen, I hand select (or cut) the perfect pen blank. I have a large collection of blanks I have purchased over the Internet from all over the world including Cocobolo, Koa from Hawaii, Maple and Dogwood from the US just to name a few. Some of my pens are also made from Acrylic pen blanks for a more contemporary look.
At this time, I also select a style of pen kit that will make sure that any unique figure or grain in the wood will be best featured. The pen kit contains all the pieces necessary to complete the pen including the writing tip, clips, caps, rings etc.
Cut & drill the blank
Next, using the brass tubes that are included with the pen kit, I size up and mark the blank to make the individual pieces for the pen.
After the blanks are cut I mark the centers of each piece to help in drilling the blank. The blanks are then drilled on a small drill press. The hole in the blank is used to insert a brass tube. The tube gives structure to the pen and makes the pen assembly possible due to the tight tolerances of each part in the pen kit.
Glue the brass center tubes
Next the brass tubes are glued into the drilled blank using CA (i.e. super glue). The glue holds the tube into the blank and helps strengthen the end grain of the wood around the ends of the tubes.
In my next post, I will discuss the mounting and shaping. Post a comment if you have any questions!


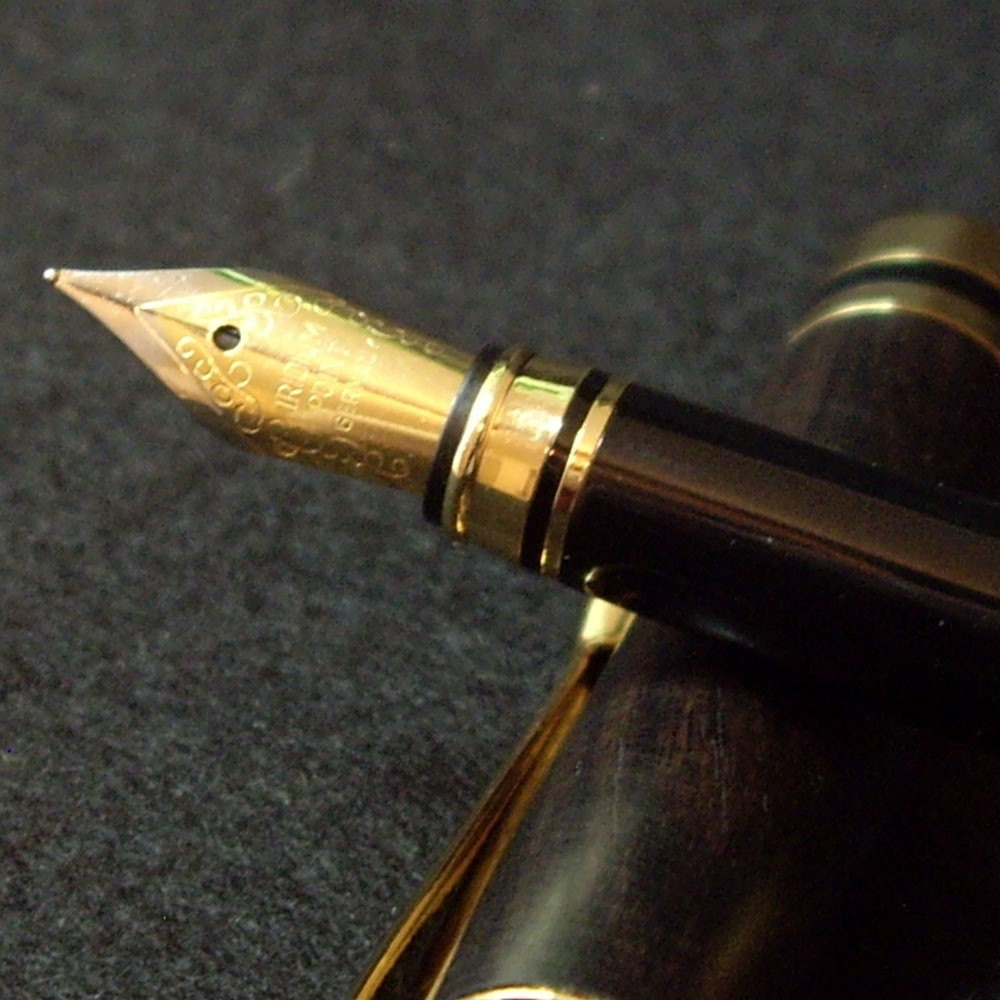


 I must admit, I have always wanted an Mont Blanc fountain pen or rollerball pen. There is something about that sleek black pen with the signature Mont Blanc star on the cap. But now that I make my own pens, I am have admit that a fine handcrafted pen is totally better.

